Make Shortening Pie Crust by Hand: Easy!
This simple, easy recipe makes a single 9-inch pie crust. One and a half recipes should do for a covered pie such as a lattice top crust, or for pie crust art.
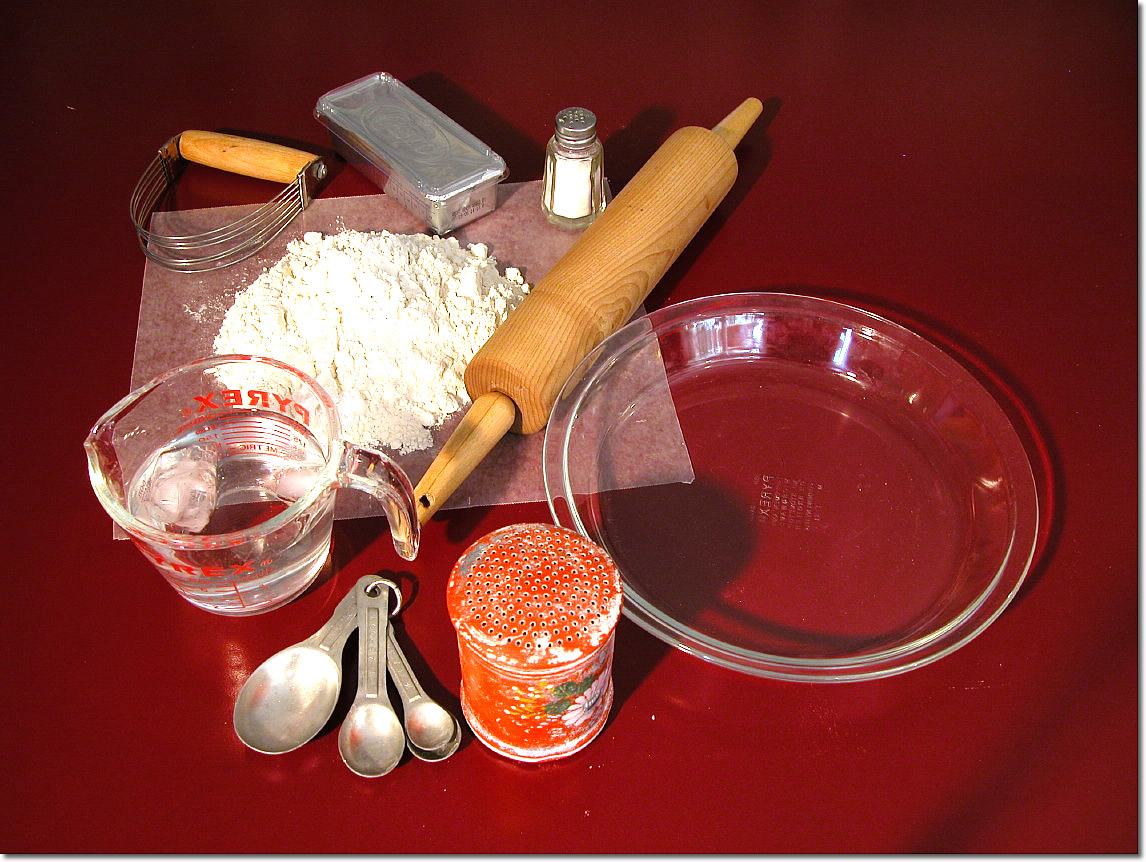
Shortening is in the aluminum box. Note the pastry blender (wires with a wooden handle) in the upper left-hand corner.
Quantities for one recipe are given first, with numbers for one and a half shown in parentheses and italics after.
1/2 cup Crisco or other shortening
(3/4 cup)
1 1/2 cups flour (2 1/4 cups)
dash of salt (dash)
3 TB ice water (4 1/2 TB)
Sift the flour and then measure it. Resift it into a bowl along with the salt. Add the shortening and use a pastry blender to mix it with the flour until it’s the size of small peas. (If you don’t have a pastry blender, you can use two forks or your fingers.)
Using your fingers, mix in the ice water, 1 tablespoon at a time. Mix just until it holds together, only a few seconds. Press the dough into a flat disk.
Sprinkle a little flour on a cool, dry surface and place the dough on it. Sprinkle a little more flour on top of the dough. Rub a little flour onto the rolling pin so it won’t stick.
Roll the dough in a rough circle a little larger than the diameter of your pan. If the dough sticks, sprinkle on a little more flour.
The dough should be about 1/8 to 1/4 inch thick.
Use a spatula to loosen the dough from the surface, and fold it in half and then quarters to make lifting it easy.
Place in the pie pan and press to shape. If you’re so inclined, use your fingers or a fork to make a pretty edge on the crust.
Making the top crust: Shape remaining dough into a flat disk and roll out as above. Determine how big to make the crust based on how much fruit you’ve piled in the pie. Place crust on top of fruit and seal the edges. If you want to make it fancy, cut out some shapes before you put the crust on top; otherwise, just cut some slits in the top to allow steam out.
Alternatively, you may choose to do a lattice crust or pie crust art.
Tips from Jane
— Pie crust is very forgiving. If yours tears or splits, as mine often does, just patch it together with your fingers or a little bit of dough. It doesn’t matter if it’s a little bumpy or uneven—after all, it’s going to be covered with yummy filling! You don’t want holes in the crust, however, as that could allow the filling to seep underneath.
— For this recipe, do sift the flour as directed. This tends to lighten the flour. I recently tried this crust without sifting the flour, and it didn’t come out as well.
— Crimping the edge to make it look nice isn’t hard. Just use your fingers to shape small indentations, working your way around the crust. You can also use the back of a fork to make an edge.